Many remote monitoring systems rely on a solar panel for IoT sensor power to stay online. But if the panel is too small, the device slowly drains its battery and eventually shuts down. If it is too big, you are wasting money.
Have you ever hiked miles to a remote field or climbed onto a high roof just to find that your sensor died three days ago? It is a total headache.
I have spent a lot of time troubleshooting dead devices, and usually, the problem isn’t the battery—it’s the math. I want to show you exactly how to avoid those “low battery” alerts. By the end of this guide, you will know how to pick the right solar power setup that keeps your data flowing through rain, clouds, and long winters.
Table of Contents
Typical Power Consumption of IoT Sensors
Before we jump into the steps, it helps to see how much energy common sensors actually use.
Step 1: Calculate Your Daily Energy “Spending”
Before we can collect energy, we need to know how much your device “spends” every day. This is called a Power Budget.
Most IoT sensors spend most of their time in Sleep Mode (a low-power state). I usually calculate this in Watt-hours (Wh).
- Action: Multiply your average current draw (in Amps) by the voltage of your system and then by 24 hours.
- Mistake to Avoid: Forgetting the “Active” spikes. Even if it only wakes up for one second to send data, that spike uses a lot of energy.
- Expected Result: A single number representing how many Watt-hours you need per day.
Step 2: Find Your Local Peak Sun Hours
You might think you get 12 hours of sun, but the “useful” sun is much shorter. We call this Peak Sun Hours (PSH).
One PSH is equal to one hour of sunlight at a specific strength (1,000 Watts per square meter). According to the Solar Resource Map, this number changes depending on your location.
- Action: Find the winter average for your specific city.
- Example: A farm in Arizona might get 6 PSH, while a forest in Germany might only get 2 PSH in December.
- Visual Aid: Use the Global Solar Atlas to see your specific coordinates.
Step 3: Account for the “Safety Tax”
In the real world, things get messy. Dust settles on the panel. Wires get warm. Clouds happen.
I always add an Efficiency Loss factor. I call this the “Safety Tax.” It accounts for energy lost as electricity moves from the panel, through the Charge Controller, and into the battery.
- Action: Take your daily Wh need from Step 1 and multiply it by at least 1.5 or 2.0.
- Mistake to Avoid: Assuming 100% efficiency. Most small systems lose about 20% to 30% of their power during the transfer process.
Step 4: Determine the Final Panel Wattage
Now we do the final math. To find the right solar panel for IoT sensor use, follow this formula:
Required Solar Panel Wattage = Daily Energy Use (Wh) ÷ Peak Sun Hours (h)
- Example: If your sensor uses 2Wh per day and your location has 4 Peak Sun Hours, you need at least 0.5W ($2 \div 4 = 0.5$).
- Expert Tip: In real B2B deployments, engineers usually choose 3W to 5W panels for this scenario. Why? Because you need that extra power to recharge the battery quickly when the sun finally comes out after a storm.
Step 5: Select a Battery with “Autonomy”
The panel collects the energy, but the battery has to survive the nights and rainy days. We call this Autonomy—the number of days a device can run without any sun.
For most off-grid sensors, I recommend at least 3 to 5 days of autonomy.
- Industry Context: A weather station in agriculture usually requires 5 to 7 days of autonomy, because cloudy periods in winter can last a long time.
- Action: Multiply your daily energy use by your desired autonomy days to find your ideal battery capacity.
FAQ: Solar Panels for IoT Sensors
1. What size solar panel do IoT sensors need?
Most IoT sensors require 1W to 10W solar panels. The exact size depends on how often the device sends data and how much sunlight your location gets in the winter.
2. Can a small solar panel power an ESP32?
Yes. Many ESP32-based sensors run perfectly on 3W–5W solar panels when paired with a small battery and optimized “deep sleep” code.
3. How long will a solar battery last without sunlight?
Standard off-grid designs target 3–5 days of “autonomy.” For critical infrastructure, engineers often aim for 7+ days to ensure the device never goes offline.
Ready to Power Your IoT Vision?
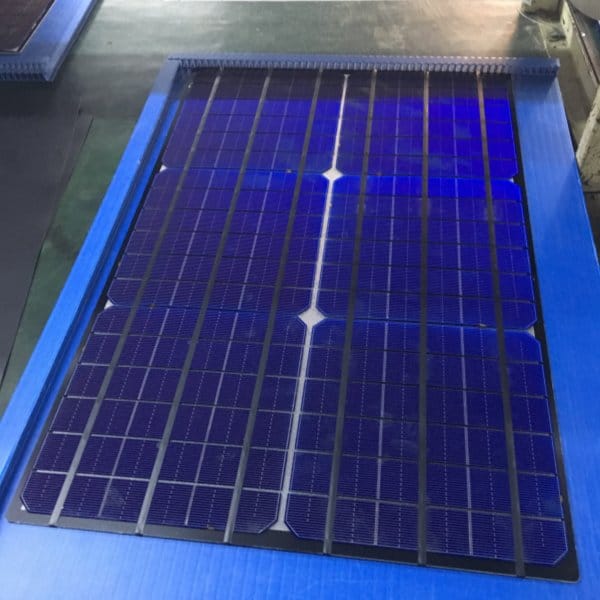
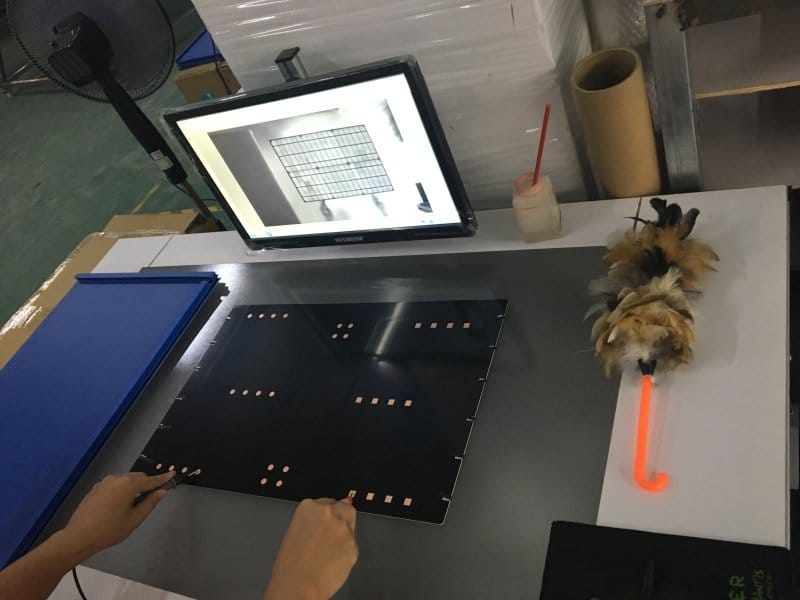
Sizing the math is the first step—getting the hardware right is the next. If your project requires a custom-shaped, ultra-small, or high-durability solar panel that you can’t find off-the-shelf, we can help.
“I’ve seen too many IoT projects fail due to poor power design. Let’s make sure yours isn’t one of them.”
— The Siliconeo Engineering Team
Share your specs with our engineers today. We typically respond within 1 business day.